Interesting things to make out of paper—from mathematical models to toys.
Cut Out an Angelfish with One Straight Cut
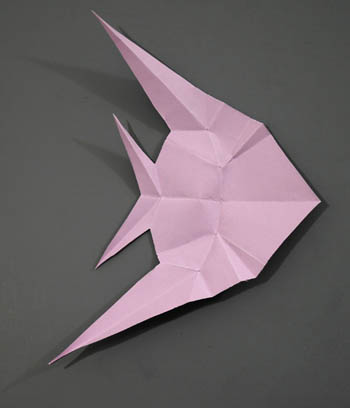
Believe it or not, the paper angelfish in the picture above was made with one straight cut. The trick, of course, is to fold the paper just right. Erik and Martin Demaine developed the theory and techniques used here. The angelfish in this project is of their design.
Steps
- Download and print the pattern from Erik Demaine's web site.
- Score the fold lines. Scoring helps you complete a pretty tricky process of folding along all lines at once. Score the valley folds (dashed lines) when the pattern is face-up. Score the mountain folds (dot-dashed lines) on the reverse side. You can transfer the locations of the mountain fold lines by pushing a thumbtack through the pattern at key point.
If you can't score along the fold lines, pinch along the lines to make a crease. - Fold along all lines. It may help to gradually collapse the model by pinching and puckering folds working your way around the model.
- Fold the paper in half along the horizontal dot-dashed line.
- Cut along the thick line and open your angelfish.
Notes
- Erik Demaine proved that any polygon can be created with this fold-and-cut process in a finite number of folds.
Links
- Erik Demaine's web site has more examples of cut-and-fold diagrams
References
Comments
comments powered by Disqus